Installing with Enphase
Ease of installation is one of the reasons so many installers choose Enphase. Here, you can get into the details of the work that happens at the installation site.
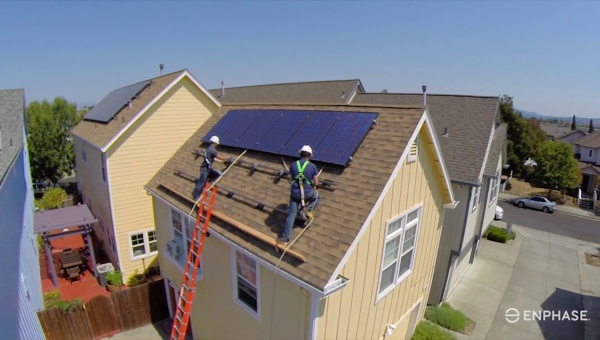
Rooftop Work (microinverters and cabling)
The rooftop work for an Enphase system follows an easy, step-by-step process. Use the overview below as your guide or dig into the details in each of the sections that follow.
- Position the Enphase AC cabling
- Install an AC branch circuit junction box / isolator
- Attach the microinverters to the PV racking
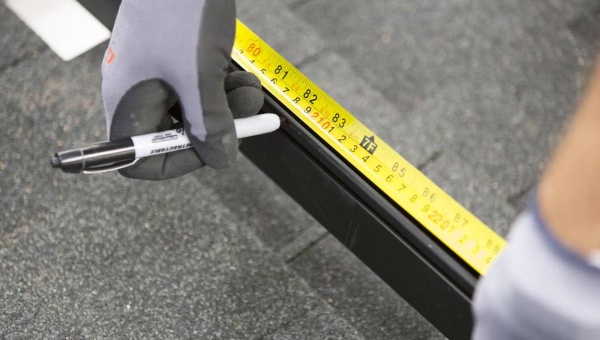
- Create a paper installation map
- Ground the microinverters (if required)
- Dress the Enphase cabling
- Connect the microinverters to the Enphase cabling
- Terminate the unused end of the Enphase cabling and seal any unused cable connections
- Connect the Enphase cabling to the AC branch circuit junction box
- Connect the PV Modules to the microinverters
After you’ve completed the rooftop work, you’ll complete electrical work on the ground and you'll install the Envoy. Then you’ll energize the system and complete commissioning using the Installer Toolkit mobile app.
IQ Microinverter Rooftop Installation
Best Practices

Assemble the Q Cable Terminator
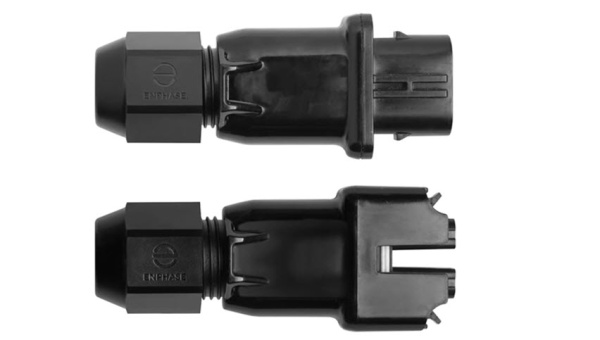
Assemble the Q Field Wireable Connectors
System Compatibility
The IQ System uses the 2-wire Q-Cable and a new line-to-line power line communications protocol. When using the IQ Micros take care to use only the Envoy-S, Envoy-S Metered and Q Cable as the M-Series Envoy-R and Engage Cable is not compatible with the IQ System. The IQ System is, however, compatible with the M-Series IF you have Envoy-S or Envoy-S Metered installed at the site instead of a Envoy-R.

Rooftop Work Resources
IQ Systems
- Enphase IQ 7/IQ 7+ Quick Installation Guide
- Enphase IQ 7/IQ 7+ Installation and Operation Manual
- Enphase IQ 6+ Micro Quick Installation Guide
- Enphase IQ 6+ Installation and Operation Manual
- Enphase Q Cable Terminator Quick Install Guide
- Enphase Q Aggregator Quick Install Guide
- Enphase Q Field Wireable Connector Quick Install Guide
M-Series Systems
Communications and Control (Envoy)
The Envoy is the monitoring and control appliance for the system, and it communicates with system components over the AC power lines at the site and with Enlighten over an Internet connection.
Successful installation and commissioning of the Envoy means that power line communications are good and the Envoy is reporting to Enlighten.
If the Envoy is unable to communicate with system components, operations may be impaired. If the Envoy is not connected to the Internet, the homeowner will be unable to monitor their system in Enlighten, and you won't be able to perform remote operations and maintenance.
The sections below cover the physical installation of the Envoy. On our Commissioning page, we'll step you through configuring your Envoy and how to connect it to the Internet.
Installing the Envoy
Follow these simple steps to get the job done. Refer to the resources below for additional information.
- Choose a location for the Envoy
- Provide a power connection
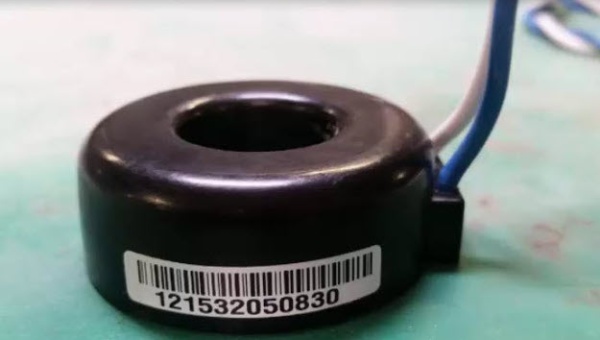
- Install metering CTs (if required)
- Energize the Envoy
Envoy Resources
Envoy-S/Envoy-S Metered
Envoy-R
Main Circuit Panel (metering)
Follow the guides below or watch the videos that follow for a step-by-step approach to successful CT installation. We'll cover how to verify operation and enable the meters you have installed on our Commissioning page.
- Principles of Successful CT Installation. This Getting Started Guide covers the four principles for successful current transformer installation.
- Envoy-S Terminal Block Wiring. This Getting Started Guide provides a color-coded diagram of where to land your CT wires on the Envoy-S Metered terminals.
Production Metering


